One of my students last year made a dress out of this pattern (Simplicity 2406). It turned out great and I particularly like the off the shoulder sleeves. Not until this summer break that I am able to attempt this pattern myself. This is the first sewing project I worked on in my new studio, so it is extra special for me.

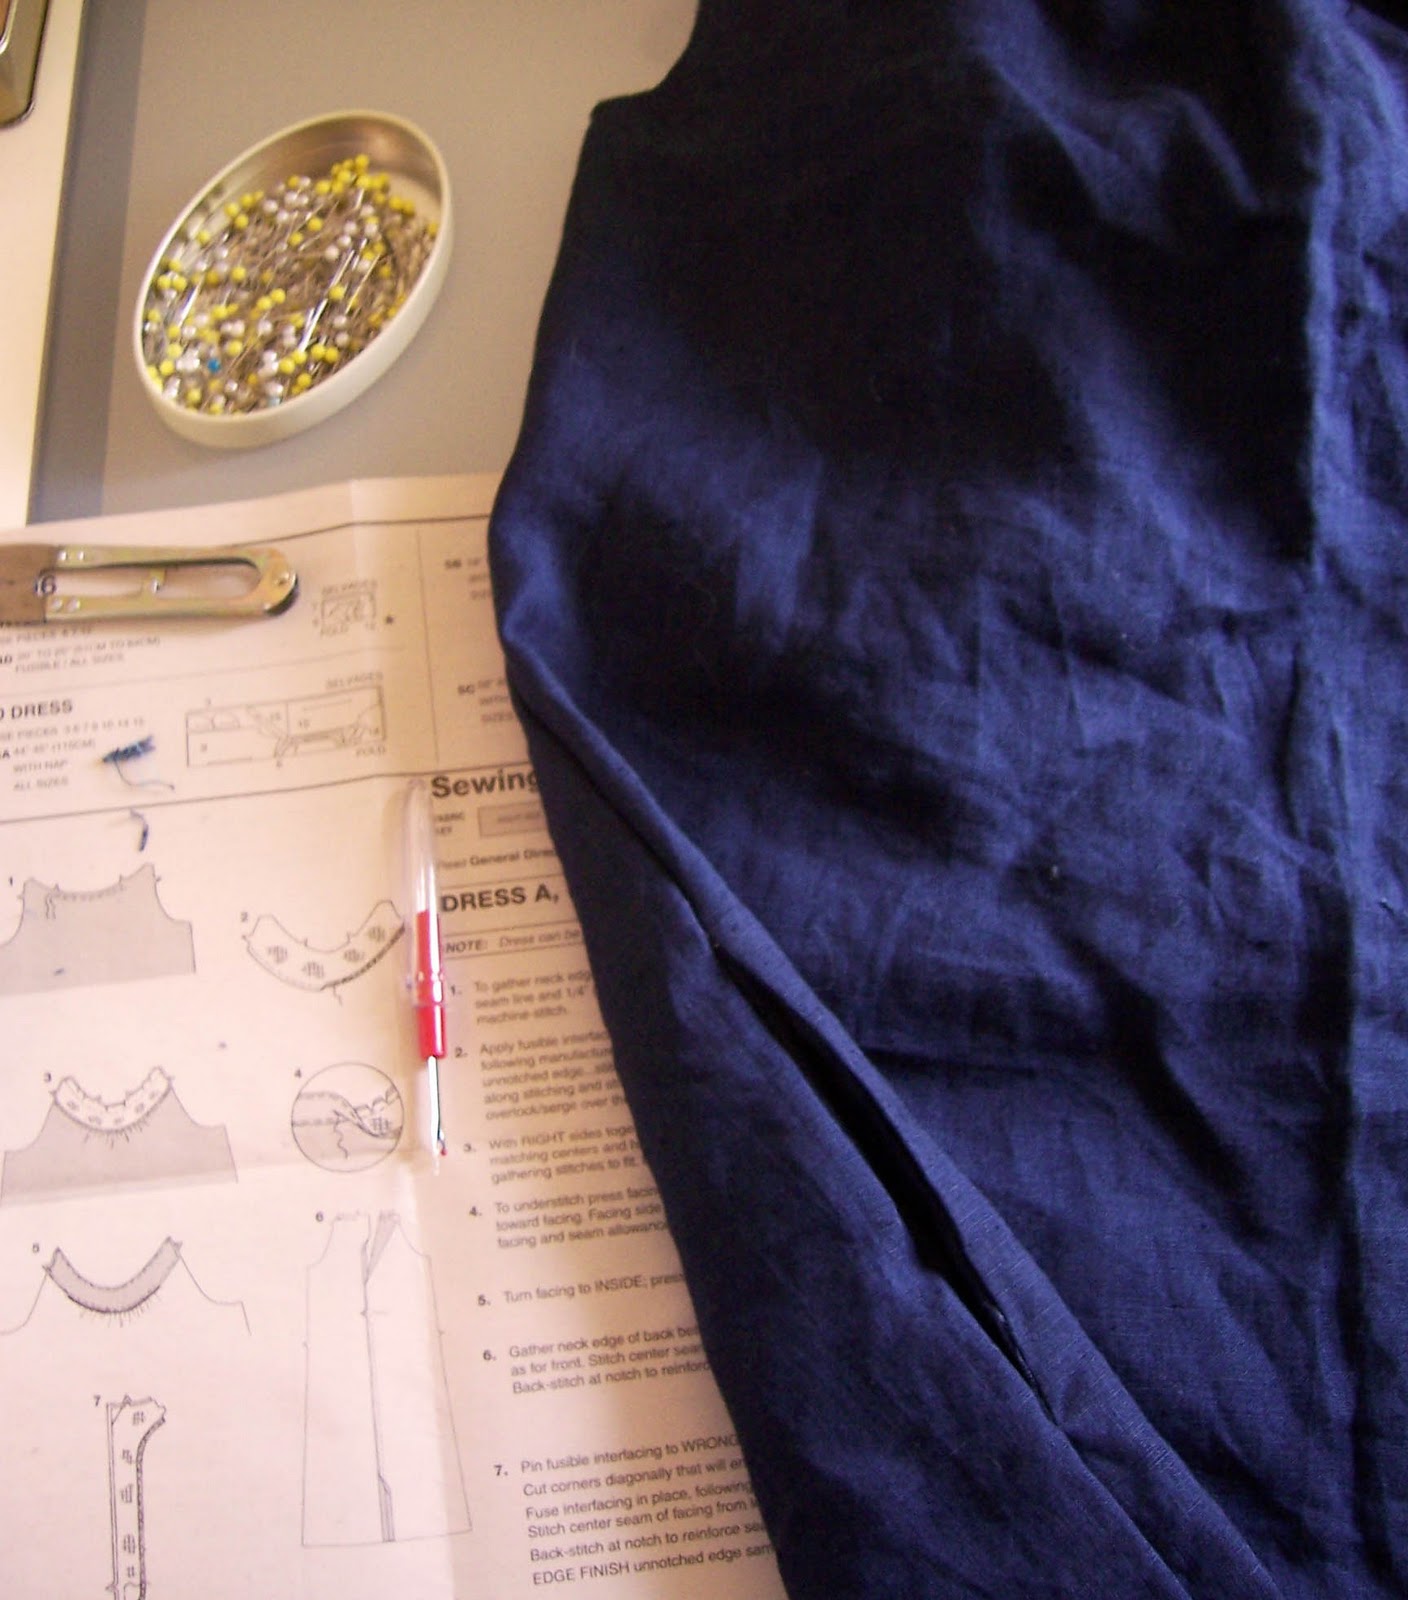
Material and Pattern
 |
| I made this dress out of Linen. I bought this fabric from ebay awhile back (it was very cheap!), it has a beautiful texture and a fantastic tone. |
I only have 1.7m of Linen, which is not quite enough for most dresses. After a night of fiddling with the layout, I managed to fit all pattern pieces on the fabric by combining style B and D.(Making Style B but having the length of Style D).
Process 1- Gathered Neckline
 |
| The construction begins at the gathering of the front and back neckline. The Gathered Neckline is an important element in the design. It's quite easy to do but great care is required for a good result. The sewing instructions came with the pattern is pretty clear, so follow it closely. |
 |
| For a neater edge finish of the facing, you need to sew 6mm from the unnotched edge, this line of stitches will help you with the folding. Fold the raw edge under, clip it to help with the curve. Sew along the folded edge. |
 |
- Place RS of facing along the RS of gathered neck edge.
- Line up all notches, pin and tack.
- It is important that you tack from the gathered side, so you can see the gatherings and tack between them.
- When tacking gathering, the key is to keep your stitches small, it seems to be a painstaking process but you will find you save more time and achieve a better result this way.
- Sew along the tackings, in between the two gathering stitches, again sew from the gathered side.
- Trim and clip seam, under stitch and turn facing to the inside.
- I did the same for the back neckline, as I didn't want a open back design.
|
Process 2- Hidden Side pockets
I read from patternreview that some crafties avoided making the hidden pockets in this pattern, simply because they thought it's too hard. To be honest, the sewing directions for the side pockets are not the best (they are correct, just not the best!), I was a bit confused by the diagram shown.
 |
- Make sure you overlock the curve edge of the pocket before you start.
- Pin pocket to the Front with RS together, matching dots and having edges even.
- Sew between dots, reverse stitch at the dots to reinforce them.
- You need to clip seam to the dots, this will help with the construction later.
- Turn the pocket over and iron it flat, make sure you turn out the edges above and below the clip outs (the dots) as well.
- Place the other side of the pocket onto it with RS together.
- Even raw edges and pin along the curve edge, sew.
|
 |
- Turn the sewn pocket back to the front. With RS together, matching dots and even raw edges, pin front to back at side seams.
- Sew along the side seams,
- Try to keep the pocket opening edge free.
- This can be a bit tricky as the edge is under the top layer and can't be seen. I place two pins on the seam to indicate the start and the end of the opening edge. So when I sew close to that part, I am more aware of it.
|
Finish the side seams by overlocking them :)
Process 3: Off the Shoulder Sleeves
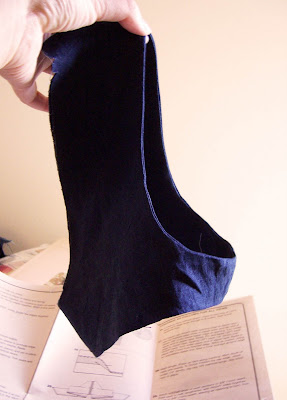
The sleeves look pretty complex in terms of construction. They can be bit tricky but they are quite achievable. The sewing directions for the sleeves are very clear and easy to follow. I took photos of each steps, hopefully they would be helpful for you..
 |
- You will need 2 sleeve front and 2 sleeve back to construct one sleeve. (Two of them are the facing.)
- Sew sleeve front to sleeve back at shoulder edges between small dots with RS together.
- Open up and iron the seam flat.
- Repeat the same process for the other two (facing),
- Make sure you sew them in an opposite side to the sleeve.
|
 |
- Place facing over sleeve with right sides together.
- Pin along the neck and sleeve opening edges, matching all seams.
- Sew across the pins.
|
 |
Trim seams to half and clip curves.
 |
| Turn facing to inside and iron it flat. |
 |
- Open out the shoulder edges.
- With RS together, matching seams and notches, pin along the the shoulder edges.
- Stitch across the pins.
- Turn to the RS, you've complete the shoulder opening!
|
 |
- This is how you sew the bottom edge:
- First, you roll up the sleeve from the top. Pin it in place.
|
 |
- Turn the top layer of bottom edges over, so the right sides are now together.
- Match all seams and pin along the bottom edges.
- Sew across the pins.
|
 |
- Remove all the pins, and turn the sleeve to the right side.
- Iron it flat.
|
 |
- Open up underarm edges, with right sides together, matching seams and pin along the edges.
- Sew across the pins, then turn to the right side. Tack raw edges together for attachment later.
- Your sleeve is now ready to attach to the dress.
- Repeat the process for the other sleeve.
|
Process 4 - sleeves attachment
 |
- Turn dress to the inside.
- Inset sleeve (RS out) to the arm hole of the dress.
- Make sure the sleeve is facing the correct direction, sleeve front to dress front, sleeve back to dress back.
- Avoid the neck facings.
- Matching all seams and notches, pin along the edges.
|
 |
- You will find there are some excess fabric between the notches. You need to use a pin to ease it in.
|
- Tack along the pins, about 1.5cm from the edge.
 |
Now, turn the facing to inside
over the sleeve,
Matching all notches and
underarm edges, pin and tack.
Sew along the tackings to attach sleeve! |

Process 5 - sash
 |
- With right side together, stitch the belt pieces together at the notched ends with a 1cm seam.
- Iron the seam flat.
- Fold sash into half lengthwise, having right sides together, pin along the edges.
|
 |
Sew across the pins along the edge,
leave an opening to turn.
Trim seams and clip the ends. |
 |
| Turn sash to the right side. |
 |
| Give it a good press! |
 |
Slip stitch opening edges together.
Process 6 - Hem |
 |
I press hem up about 3.5cm and fold
under 0.6cm. Pin along the folded edge,
stitch across the pin. |
Finished dress
I hope this post will help you with the pattern and your sewing.
Thank you for reading xx
|


6 comments:
Great review and I love your fabric choice.
Thanks! I just love linen, couldn't get enough of it!
Great step by step guide! I finished sewing the dress and your post was so helpful with understanding the pattern. Thanks :)
I made this dress and the back doesn't look right.... I dont know if it's just the way I'm shaped or what :( Do you have any advice on how I can "tighten it up" because it gapes open and looks pouchy and unpolished. Hard to explain. Basically I'm thinking of putting in a zipper up the back slit to keep it from gaping weird. Thoughts?
Thanks for posting this tutorial! I've had this pattern for more than a year now and am going to finally try to make it. I've never made anything from a commercial sewing pattern (though I'm a beginner sewer and have done other things). Looking forward to seeing what I accomplish! I'm less intimidated now thanks to your post.
I thought I was going to have to give up on these sleeves until I found your tutorial!! Thanks so much, I couldn't have done it without you!
Post a Comment